Easy Apple Pull-Apart Bread (Bread Machine Version) September 30, 2015 // by MichelleEasy Apple Pull-Apart Bread (Bread Machine Version)Read More
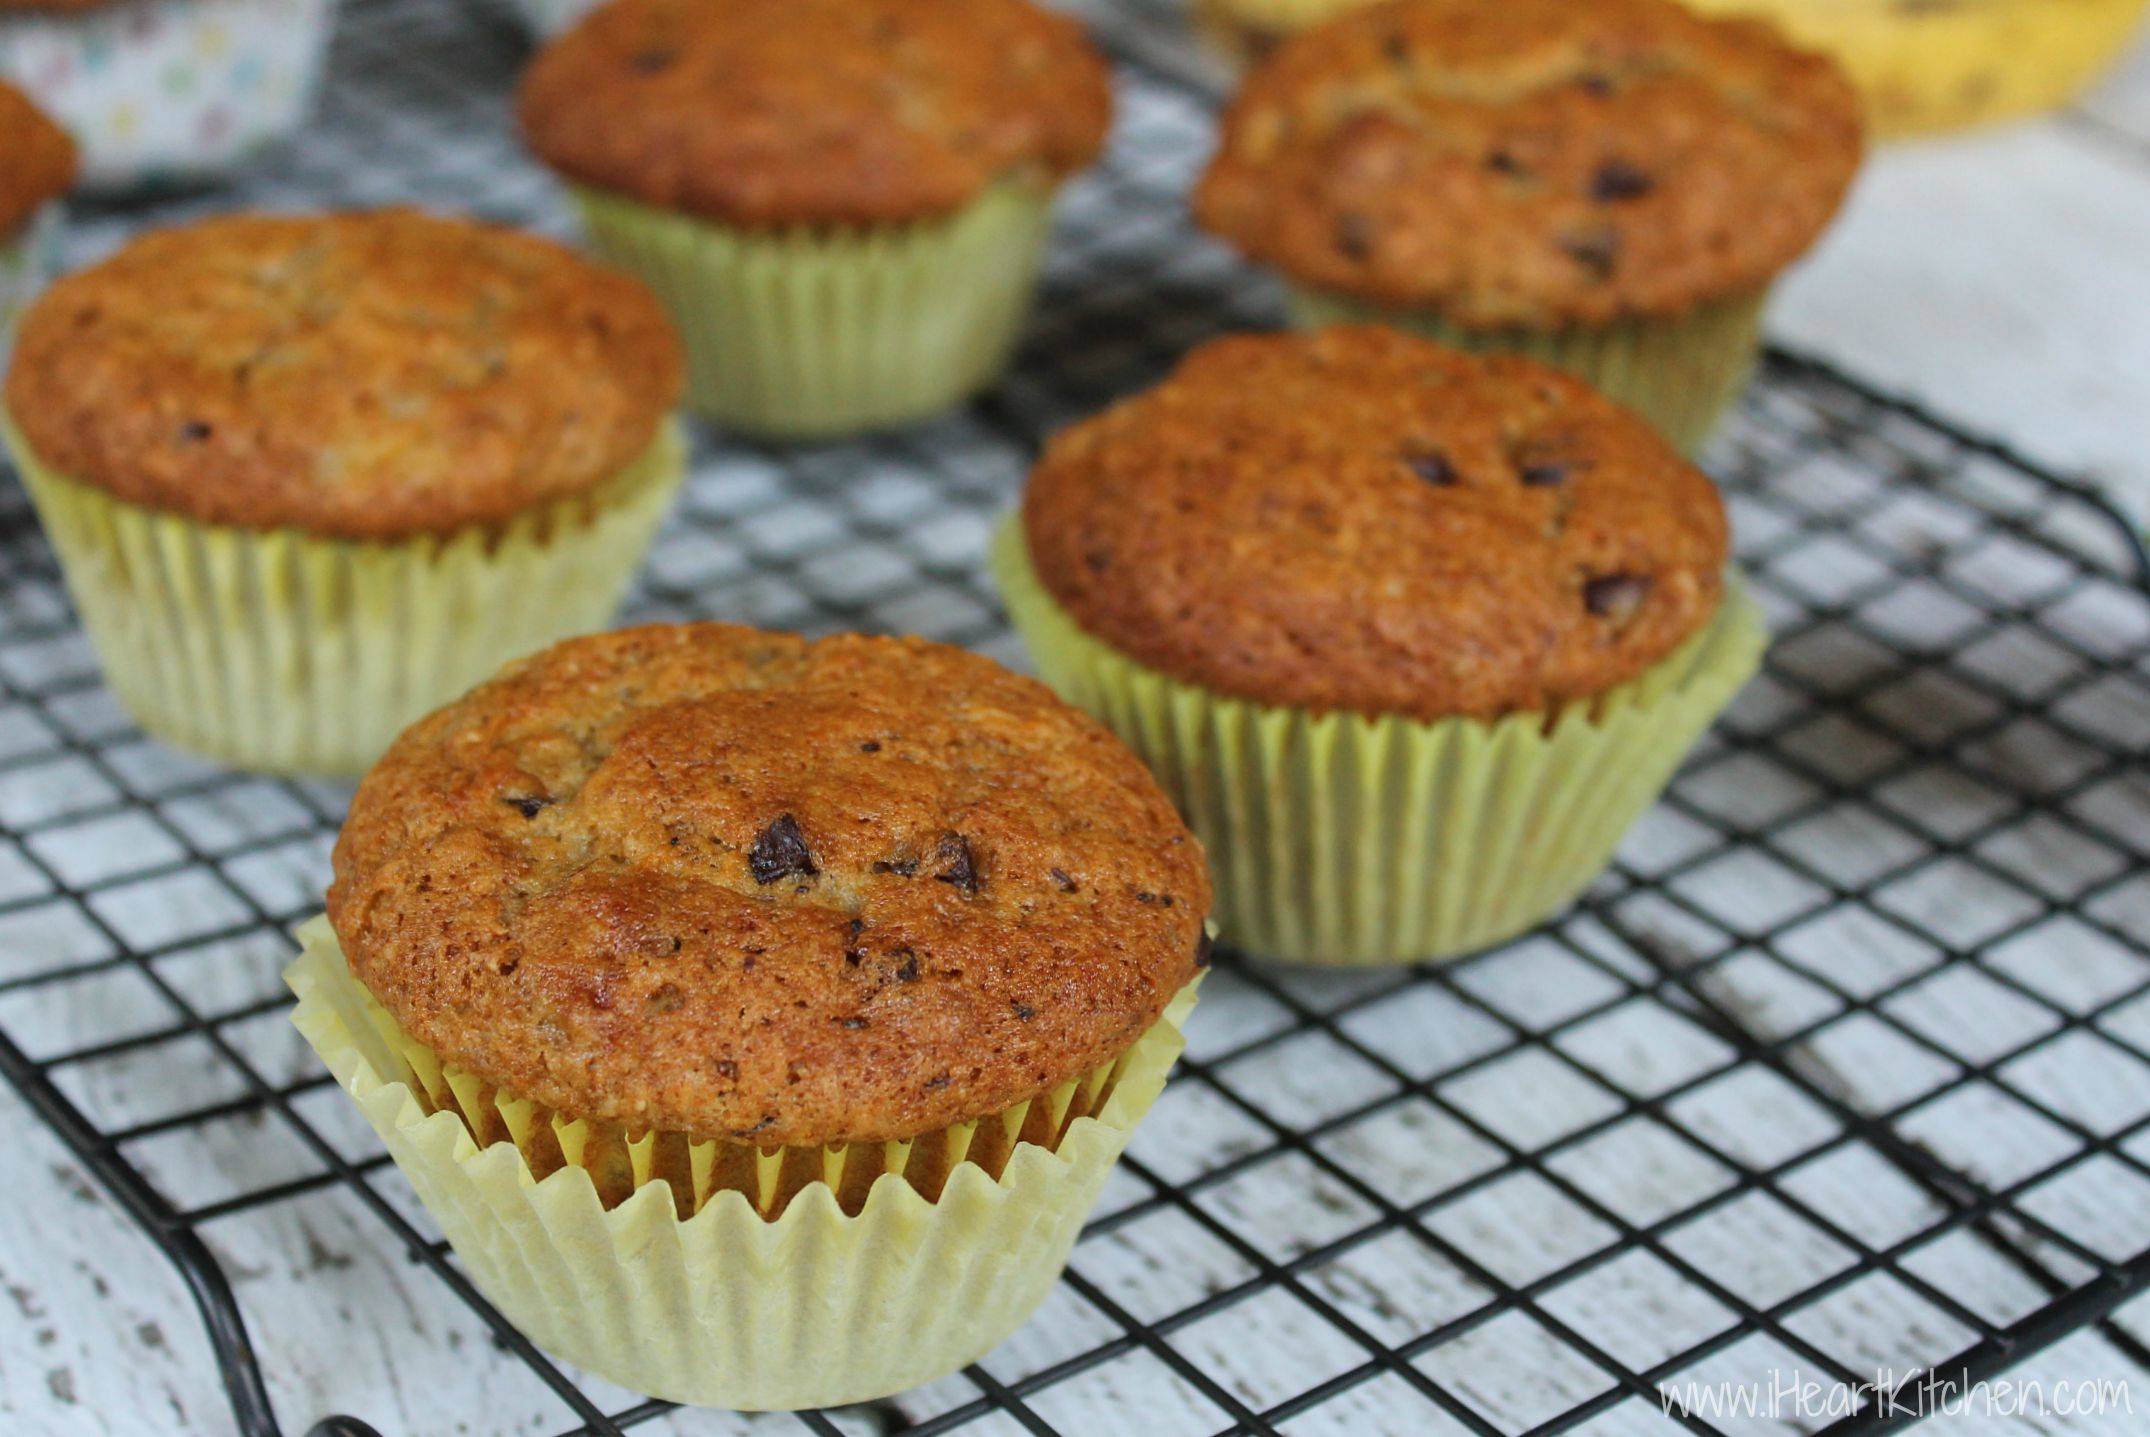
Banana Peanut Butter Chocolate Chip Muffins September 22, 2015 // by MichelleBanana Peanut Butter Chocolate Chip MuffinsRead More
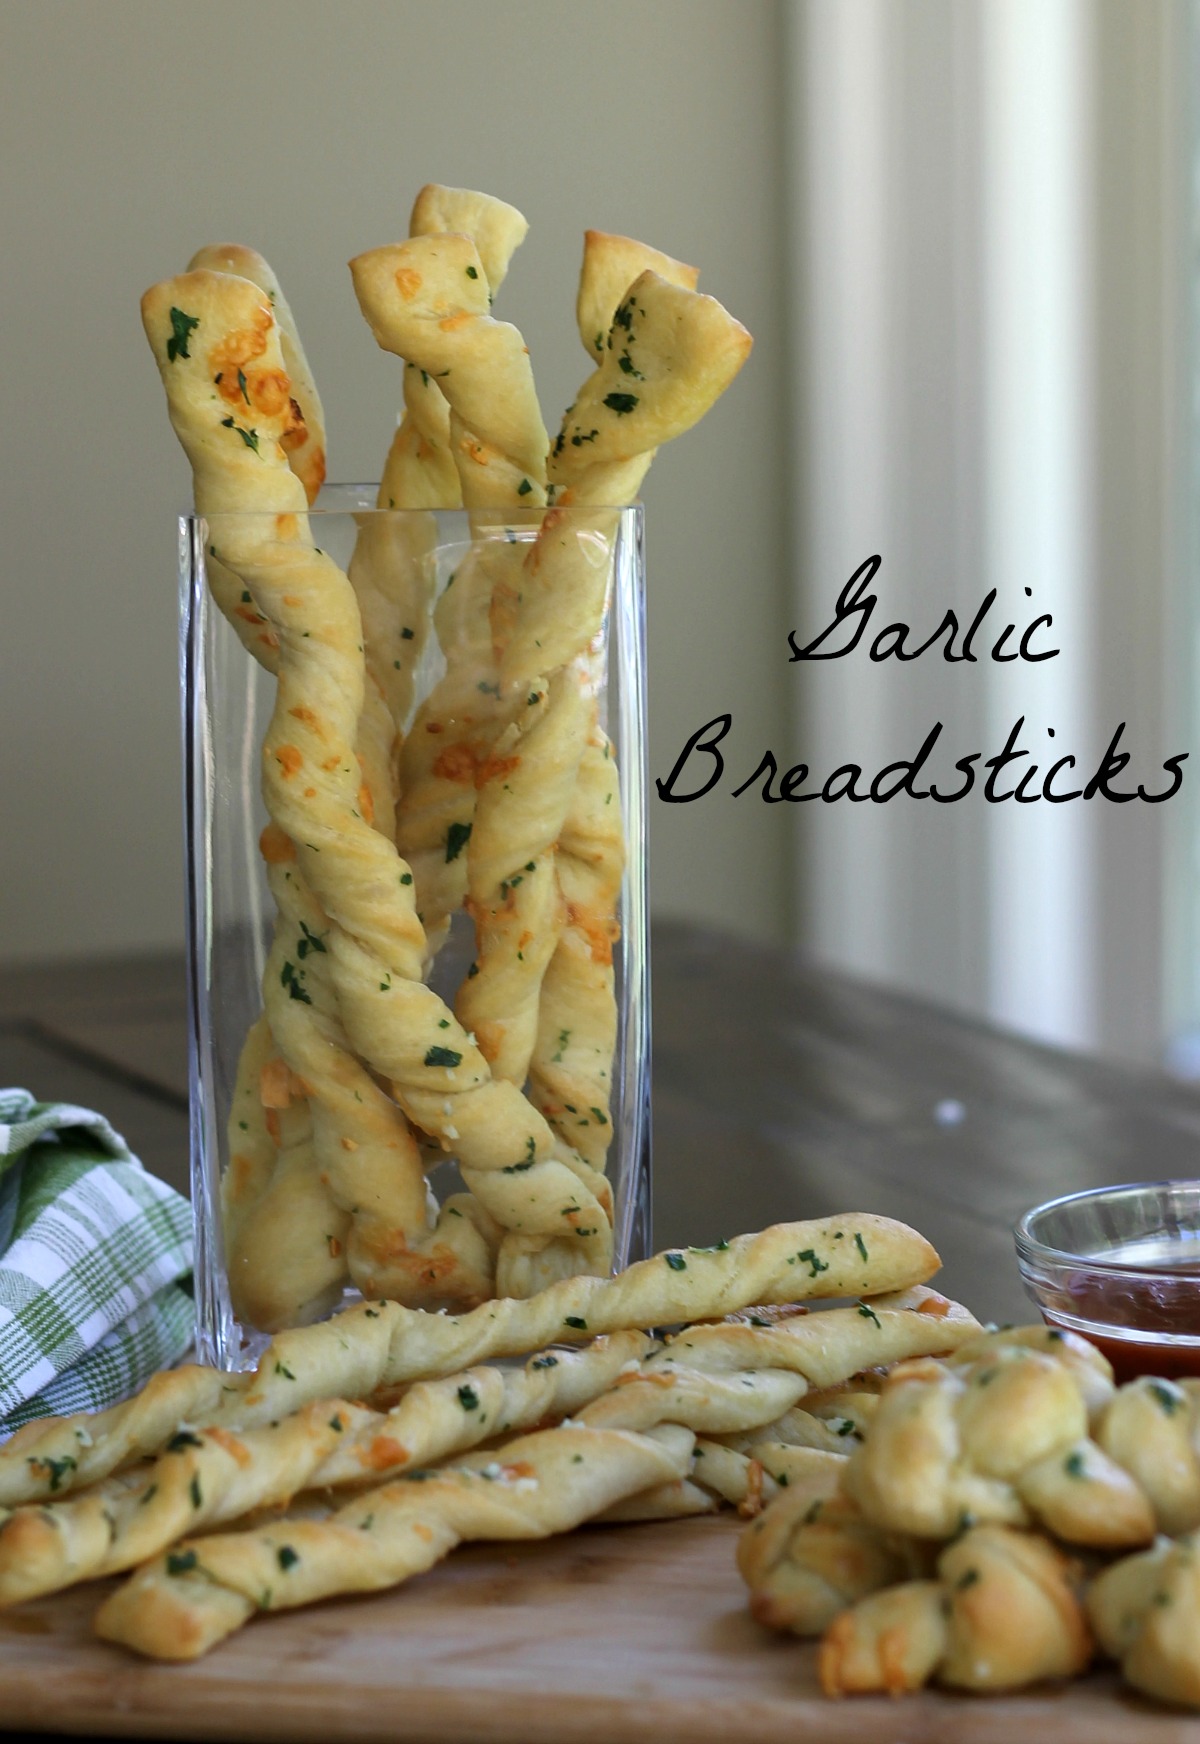
Garlic Breadsticks (Pizza or Garlic Knots…Great Mulitpurpose Dough) September 22, 2014 // by MichelleGarlic Breadsticks (Pizza or Garlic Knots…Great Mulitpurpose Dough)Read More
Turkey, Bacon & Cheddar Pull Apart Bread July 14, 2014 // by MichelleTurkey, Bacon & Cheddar Pull Apart BreadRead More
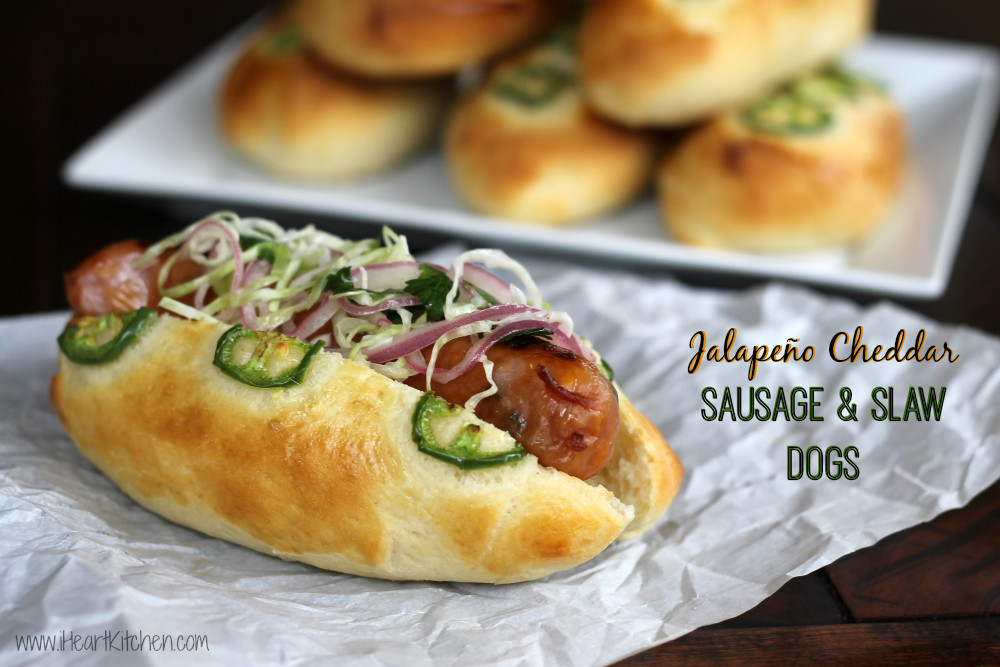
Jalapeño Buns Recipe (Jalapeño Cheddar Sausage & Slaw Dogs) April 15, 2014 // by MichelleJalapeño Buns Recipe (Jalapeño Cheddar Sausage & Slaw Dogs)Read More
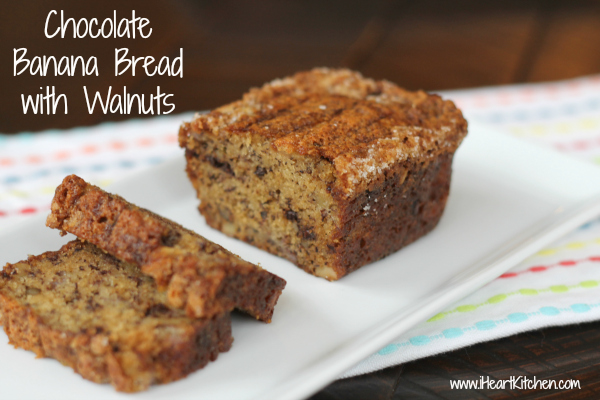
Chocolate Banana Bread With Walnuts – Best Recipe EVER! December 2, 2013 // by MichelleChocolate Banana Bread With Walnuts – Best Recipe EVER!Read More
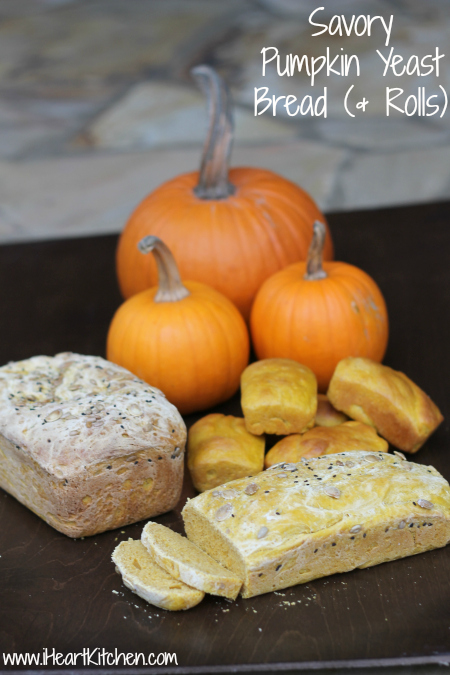
Savory Pumpkin Yeast Bread (& Rolls) November 18, 2013 // by MichelleSavory Pumpkin Yeast Bread (& Rolls)Read More