I am doing a promotion over on one of my other sites (I Heart Publix) with some back to school recipes. I thought that I’d share one of my boys’ all time favorites over here too.
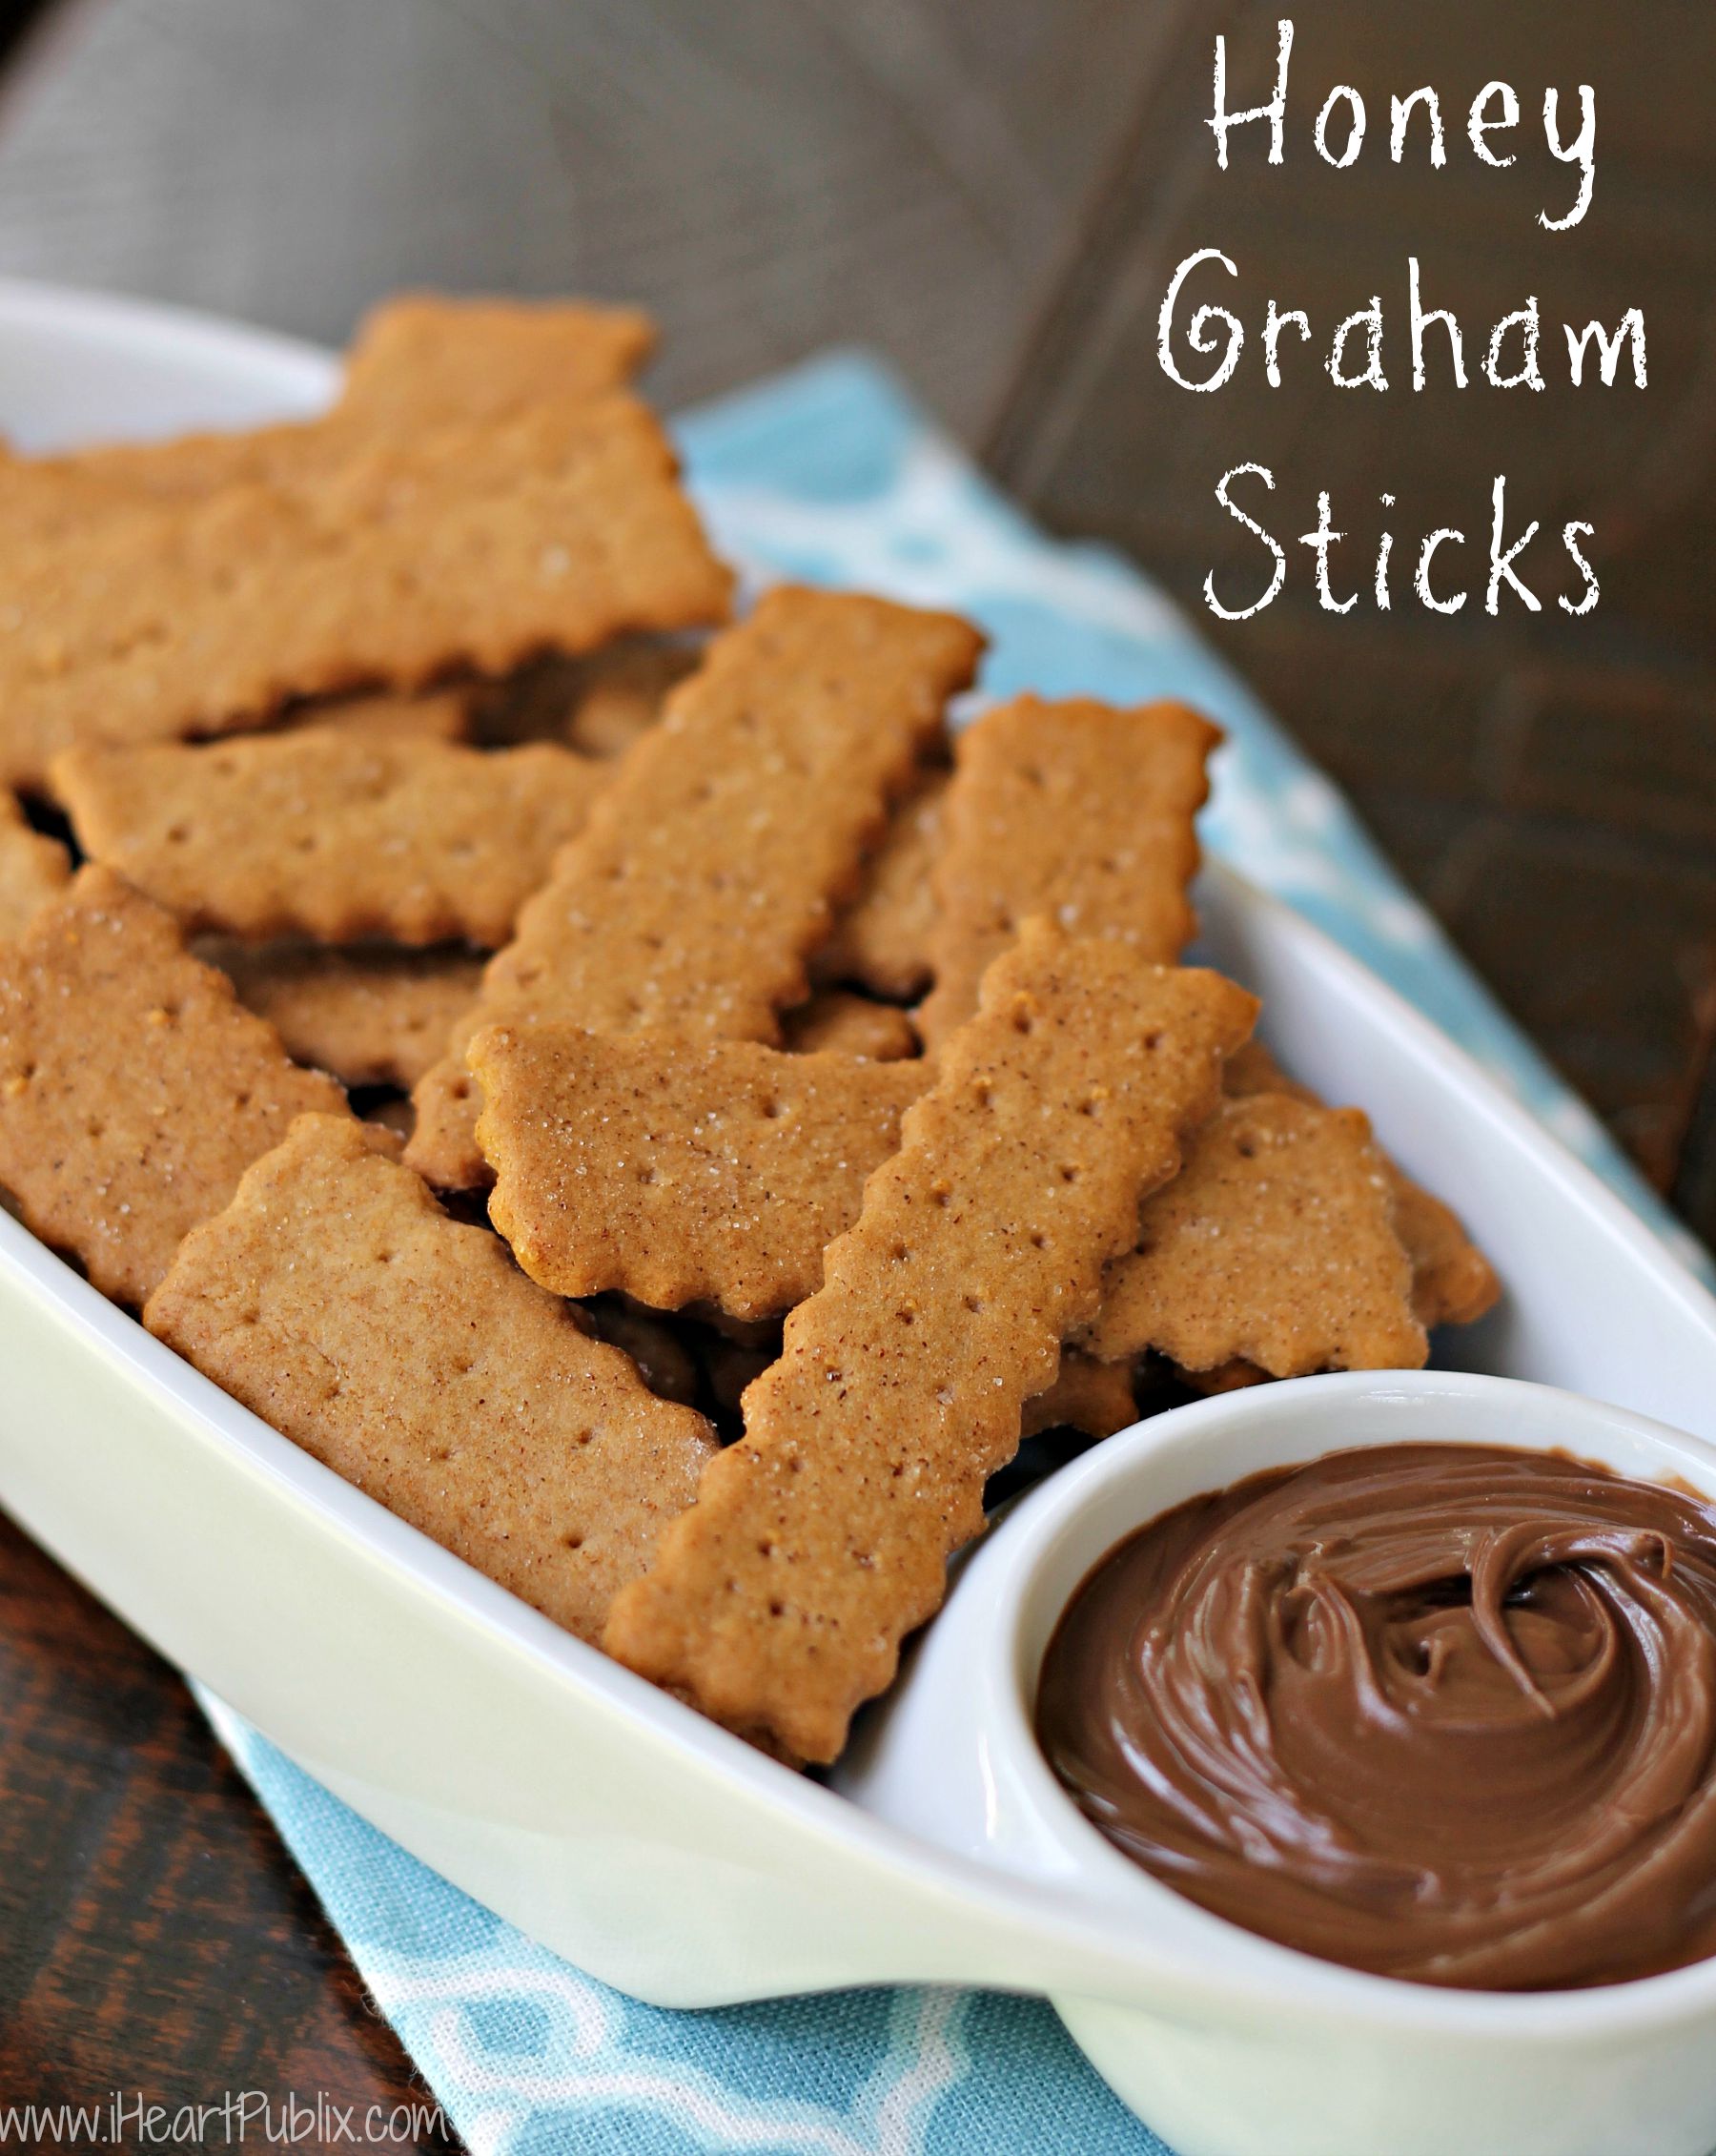
Why not try your hand at these Homemade Honey Graham Sticks? I could make these every single week and my boys would never get tired of them. Plus they are so versatile and the best little dipper…who doesn’t love them?
The first time I had a homemade graham cracker, I have to admit I was in awe. I was much younger and didn’t even know what ingredients were needed to make a graham cracker! Once I realized that it’s a simple dough and ultimately just a crispy cookie…it didn’t seem like such a mystery anymore!
Now when you look at the prep time you are going to think that this recipe is impossible. BUT…this is one of those recipes with a whole lot of inactive prep time. All that means is that you do a bunch of waiting around.
It will take you maybe 10 minutes to gather your ingredients and make your dough. I usually do that in the morning. Then I toss the dough in the fridge and forget about it for a while. There’s the inactive prep that I was talking about.
This dough needs time to harden so you can roll it out. It’s a sticky dough and can be tough to work with so you want it to be cold before you start messing with it.
After a few hours, you grab your dough and roll it out on a silpat or parchment. Then grab your pastry cutter or pizza wheel. A few zips around the dough followed by a a bunch of pokes with a wooden skewer and you have the start to your graham sticks. That step is probably the longest in the whole process. I would guess that you’d need about 10 -15 minutes. I can do it in my sleep and probably knock it out in under 10 at this point!
Once again, the dough has to go back in the fridge for a bit. Having just rolled and manipulated the dough, you’ve warmed it up and so there’s no way you can move those fragile little sticks at this point. Once the dough has had time to chill, you’ll be able to move them over to the pan, bake them and enjoy them with your favorite dip!
I think you’ll find that while you might have to do a few steps over a longer period, the effort is totally worth it. I actually like that the steps are broken up a bit…it doesn’t feel like it takes me very long to make these as I am not really spending much time in the kitchen at once.
I hope you’ll try these. Come back and let me know what you think!
- 2½ cups all purpose flour
- 1 teaspoon baking soda
- ½ teaspoon salt
- 1¼ teaspoon cinnamon (divided)
- ¾ cup packed brown sugar
- ½ cup cold butter, cubed
- ¼ cup whole milk
- 2 teaspoons vanilla
- ⅓ cup honey
- 2 tablespoons sugar
- Add the flour, sugar, baking soda, salt and ¼ teaspoon of cinnamon to the bowl of your stand mixer. Use the paddle attachment and mix on low until combined.
- Add the cubed butter to the dry ingredients and mix on low for about 3 minutes until the mixture is crumbly like oatmeal.
- In a separate bowl, mix the milk, vanilla and honey until combined.
- Pour into the dry ingredients and mix on low for about 1 -2 minutes until the dough forms. Be aware that the dough is a soft, sticky dough.
- Divide the dough and shape into two discs and wrap in plastic wrap.
- Refrigerate for about 2 hours or until firm.
- As this is a very soft, sticky dough, I find that it's easiest to roll this out on a floured silpat (or parchment) this will make moving the sticks easier when needed!
- Once the dough is about ⅛" inch thick, I use a pastry wheel to cut the dough into strips about ¾" wide by 2½" long. You can also use a pizza wheel or knife.
- Use a wooden skewer to poke holes down the length of each graham stick.
- Mix the remaining cinnamon with the sugar and sprinkle over the cut dough (reserve half of the mixture for the other dough ball.)
- Place the entire silpat of cut dough (or parchment) on a cookie sheet and refrigerate for 30 - 45 minutes until the dough is firm.
- Preheat the oven to 350º F.
- Now it will be easier to remove the sticks without warping or tearing them. Gently peel each graham stick from the silpat and place on a parchment lined pan, spacing at least ½ inch apart.
- Bake in a 350º oven for 10 - 15 minutes or until golden brown.
- Allow to cool and serve with your favorite dip!
- Repeat with the second ball of dough.
Can you make extra dough and freeze it?
I usually keep that second ball of dough in the freezer for a couple of days until I am ready to whip up the second batch! I have never tested the limits but it’s all fairly safe ingredients so you should be fine for a while. When you are ready to use it…just toss in the fridge and allow it to soften so it’s able to be rolled out – then proceed with the directions.
Enjoy!!
The ingredient list shows brown sugar but I don’t see in the instructions when to add it.
Sorry about that…it goes in with the dry ingredients–updated the recipe.
Where can I find the mold with the round edges?
I use a pastry wheel to get the shape: https://amzn.to/42o8V2W