
Forewarning…never make these while you are alone! These are dangerously addicting and if you don’t have someone there to help you, you may end up gobbling down 3 or 4 before you know it–tee hee. That may or may not have happened at my house today 😉
Fall is right around the corner and I am already thinking about chili and soups and stews. I was putting together my menu for the week and decided to whip up some Italian Sausage, Spinach & Orzo soup for dinner. I looked and only had enough salad fixings for everyone to have a small side salad so I thought I’d make some breadsticks as an extra addition to the meal.
These Garlic Breadsticks are so simple to make. It’s just a simple pizza dough that takes less than 15 minutes to put together. Once your dough has proofed and rested you can use it to make two pizzas or cut it into strips and bake it up into breadsticks. I like to twist my breadsticks so that I don’t feel like I have to be so perfect in my cuts. Of course if you are in a hurry just cut them and toss them in the oven. I promise when folks eat these they will not care if they are all perfectly shaped!
- 1¼ cup warm water (110º F)
- 2¼ teaspoons dry active yeast
- ½ teaspoon garlic powder
- 1½ teaspoons salt
- 2 teaspoons olive oil
- 3½ cups of all purpose flour + more as needed
- 2 tablespoons melted butter
- ½ cup parmesan cheese, shredded
- 2 tablespoons butter
- 2 tablespoons oil
- 3 - 4 garlic cloves, minces
- 2 tablespoons parsley, chopped
- pinch of salt
- Pour the warm water in a bowl and mix in the yeast until dissolved (about a minute).
- Allow the mixture to sit until the yeast has proofed and starts to bubble and foam.
- Add the salt, olive oil, garlic powder and 1 cup of flour and mix until combined.
- Gradually add the next 2½ cups until the dough is formed and pulls away from the side of the bowl.
- Knead the dough on a lightly floured surface for 5 - 7 minutes until the dough is very smooth and elastic.
- Place the dough ball into a lightly oiled bowl and turn once to coat the dough on all sides with the oil.
- Cover with plastic wrap or a tea towel and move to a warm draft-free spot and allow to rise for about an hour (dough should double in size).
- Once the dough has doubled, punch down and divide into two balls and place into two bowls and allow to rest for 10 minutes - You can now roll these out into two round pizzas, about 24 breadsticks or 50+ garlic knots!
- Preheat oven to 400º F.
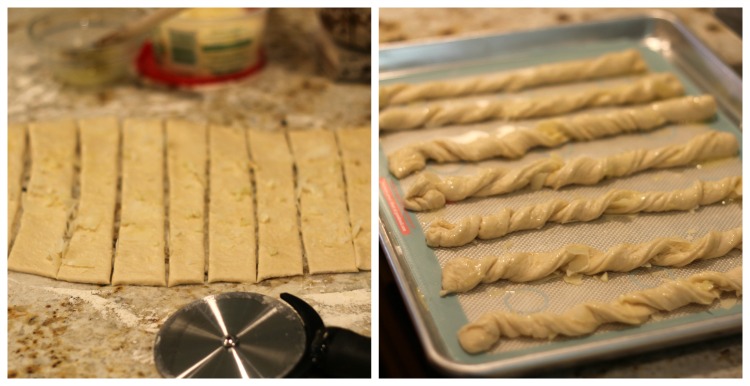
- For breadsticks...on a lightly floured surface, roll out the dough into a large 10" x 12" rectangle.
- Brush with butter and sprinkle with parmesan cheese
- Use a sharp knife (or pizza wheel) to cut the dough into 1" strips.
- Twist the dough strips and place on a Silpat or parchment lined baking sheet.
- Brush lightly with more melted butter and bake in a 400º oven for 12 - 15 minutes - until lightly browned.
- While the breadsticks are baking prepare the sauce by combining the butter, olive oil, garlic, parsley and salt in a small saucepan.
- Whisk together and cook on medium low heat until the butter is melted.
- Once the breadsticks are done, brush with the butter sauce and serve warm.
Then, cut 1" strips widthwise across the rectangle. Cut the 1" strips in half, then tie in knots.

If you prefer, you can also turn these into garlic knots. It’s the exact same dough but instead of cutting and twisting…you cut it again and tie each strip into into a knot! I even use the same sauce on both. I brush it on the breadstick and toss it with the garlic knots.
Yep, this dough is a mutli-purpose wonder! Don’t be scared if you’ve never tried a homemade pizza dough. It’s so simple and I think once you try this one you may decided to throw away the number for pizza delivery!
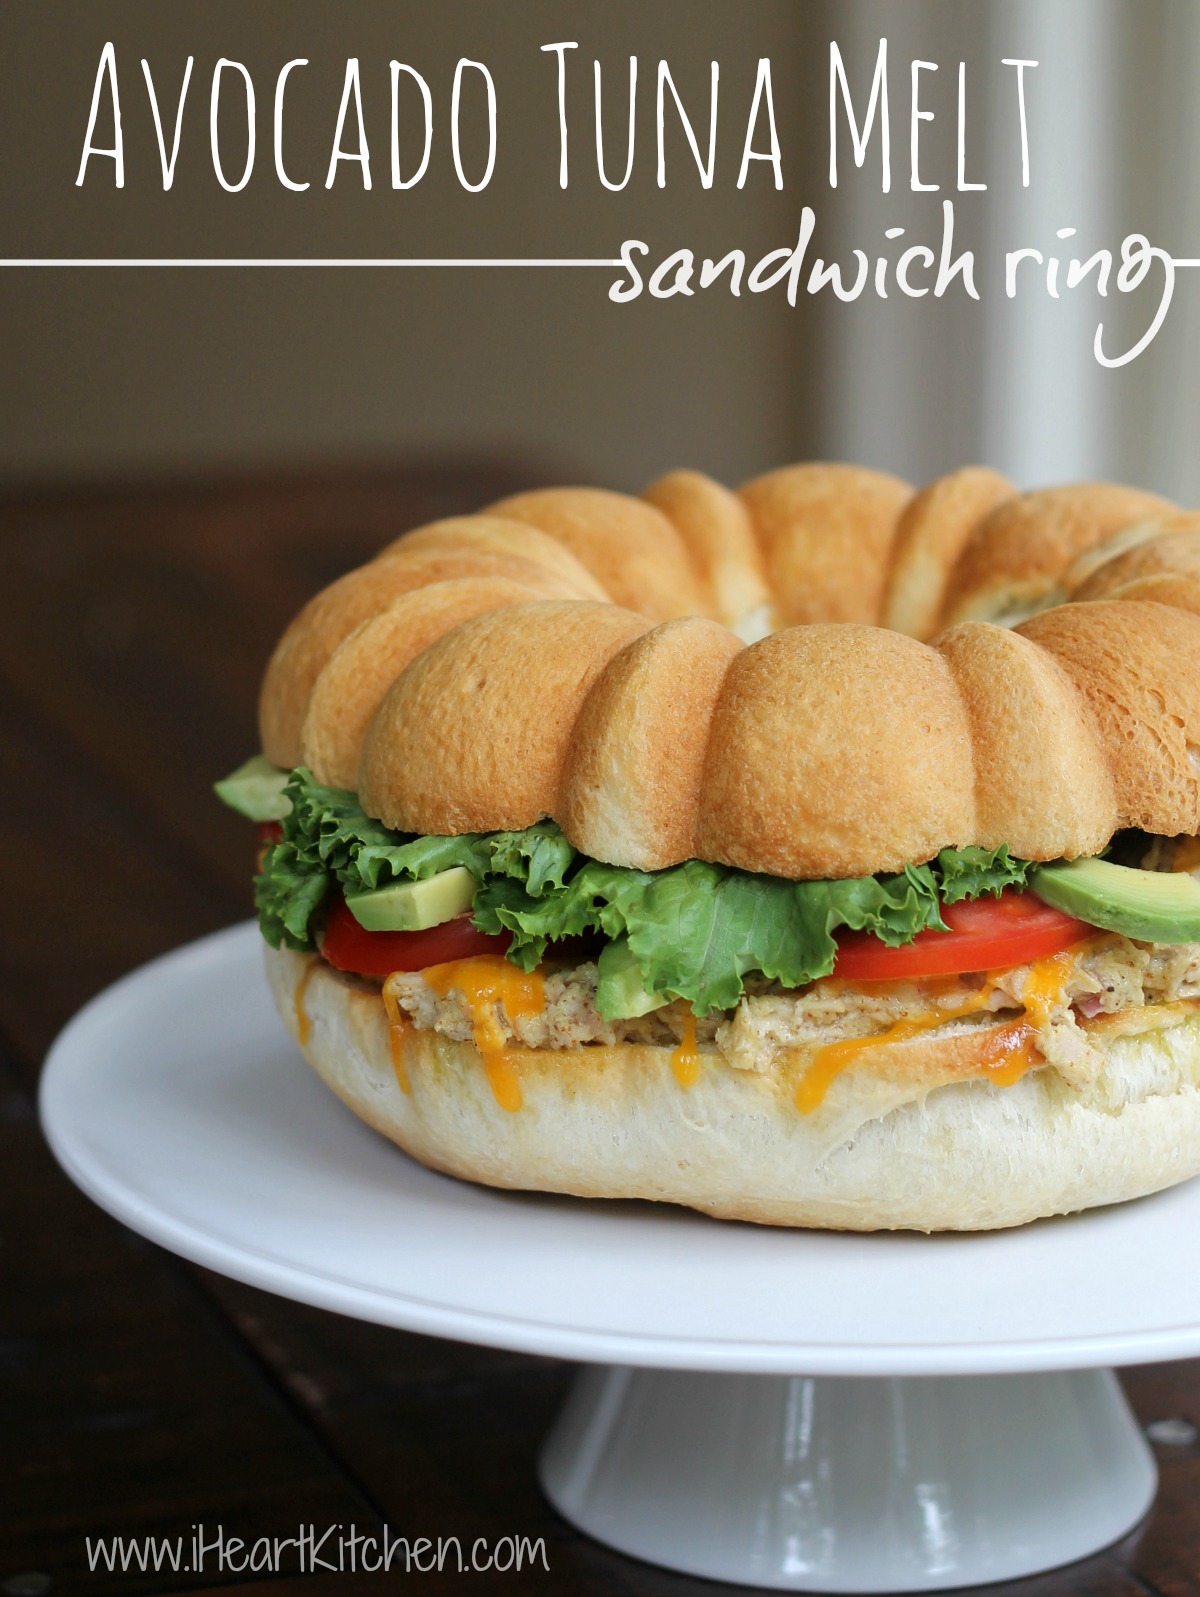 Avocado Tuna Melt Sandwich Ring
I’m wondering you can do this similarly in the bread machine? I just bought one and would love to get more use out of it for situations like this
You could definitely allow it to mix and knead for you…I guess it would depend on your machine if you wanted to let it go through the rise stages. If you try it –let me know how it works!
how much does this recipe make
depends on what you are making 🙂
” You can now roll these out into two round pizzas, about 24 breadsticks or 50+ garlic knots!”
Where is the recipe for the pizza dough version 🙁
It is the same recipe…notice in step 8 you can roll into pizza dough, twist into breadsticks or tie into garlic knots.
It’s just a basic dough recipe…the difference is just in how you manipulate the dough. Once you have your pizza dough ball…you just roll out and top how ever you like–easy breezy!